
To apply for a building permit, you find the right building department, prepare the drawings and forms it asks for, submit them, answer any review comments, then pass inspections as the work goes up. Each office has its own portal and checklists, but the sequence is much the same everywhere. Knowing it in advance helps you avoid the common stalls: missing documents, unclear drawings and forgotten inspections.
Quick answer: Confirm which city or county office issues permits for your address, read its checklist for your project type, prepare a site plan and any floor plans, elevations or structural details required, then submit online or in person with the fee. Respond to plan review comments, pick up or print the issued permit, schedule each inspection, and request a final inspection to close the permit.
Before you apply for a building permit
Start with three checks. First, confirm the project needs a permit; our pillar guide Do I need a building permit? covers the common exemptions. Second, confirm who issues it: the city if you are inside city limits, the county if not. Third, look up the zoning rules that affect where the work can go, such as setbacks and lot coverage, so the design is right before it is drawn.
Step 1: Find the application checklist
Most building departments publish submittal checklists by project type: decks, accessory buildings, pools, additions, residential alterations. The checklist tells you the forms, drawings, number of copies or file format, and any extra documents. If you can’t find one, call and ask for the residential submittal requirements for your project. Our state pages include notes on how permit offices work in each state.
Step 2: Prepare your drawings
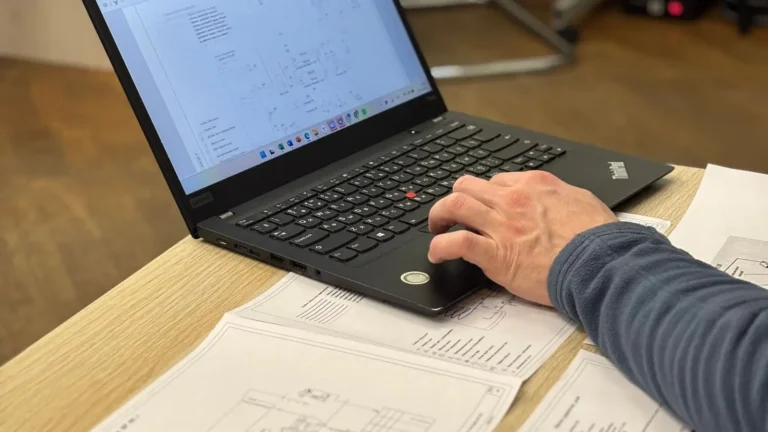
Drawings are where most applications succeed or fail. A small project may only need a site plan and a simple construction detail; a larger one needs a full set.
| Project | Typical drawings |
|---|---|
| Fence, shed, driveway | Site plan, product or construction detail |
| Deck | Site plan, framing plan, footing and ledger details, elevation |
| Pool | Site plan with setbacks and barrier, manufacturer plans |
| Garage, addition, ADU | Site plan, floor plans, elevations, sections, structural details |
| Remodel | Floor plan of existing and proposed, structural details if walls change |
Drawings should be to scale, dimensioned, and labelled with the address and parcel number. For larger projects, a coordinated permit drawing set with numbered sheets makes review faster.
Step 3: Complete the forms
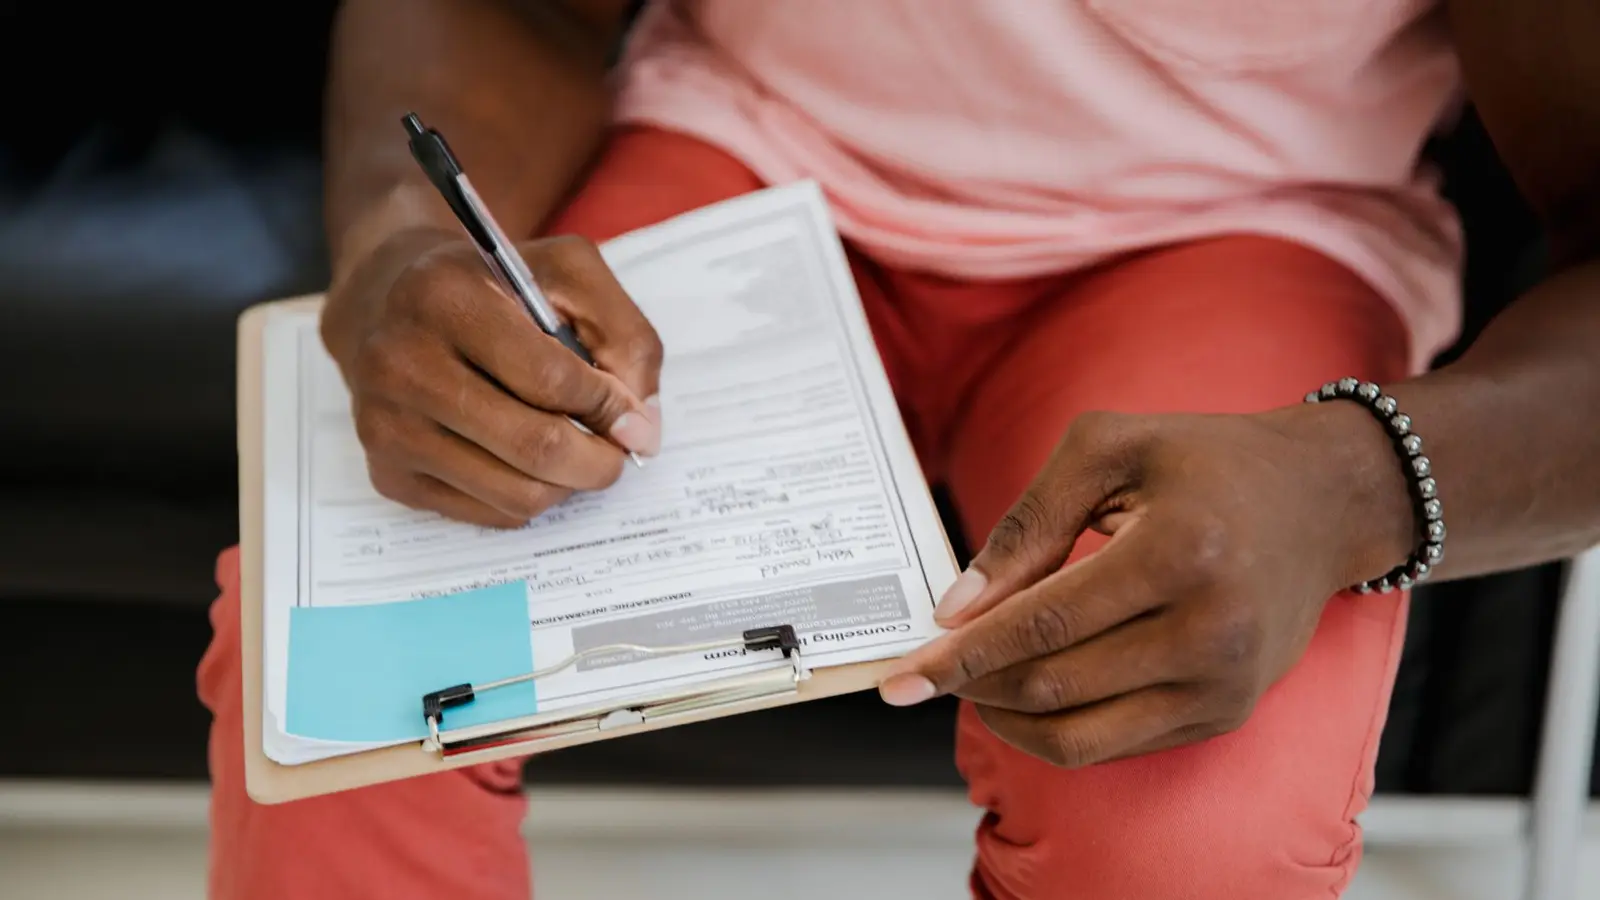
The application form asks for the property owner, address, parcel number, a description of work, the valuation (estimated construction cost), the square footage, and contractor information. Some offices also need an owner-builder affidavit if you are doing the work yourself, a contractor licence and insurance details, an HOA approval letter, or septic or health department sign-off for rural lots. Describe the work clearly and consistently with the drawings: “construct 12 × 16 ft attached rear deck, 4 ft above grade” is better than “deck”.
Step 4: Submit and pay
Many cities and counties now take applications through an online portal, where you upload PDFs, pay, and track review status. Others still take paper or in-person submittals. Follow file-naming and sheet-size instructions exactly; portals often reject unreadable or oversized files. Fees vary by jurisdiction and project and may be split, with part paid at submission and the rest when the permit is issued.
Step 5: Plan review
A reviewer, or several for different disciplines, checks the drawings against the building code and zoning rules. Simple permits may be approved the same day. Larger projects can take weeks. If something is missing or unclear, you receive correction comments. Answer each comment, revise the drawings, and resubmit. Our guide on responding to correction comments explains how to make the second round the last one.
Step 6: Permit issued
Once approved, you receive the permit and stamped approved plans. Most places require the permit card to be posted on site and visible from the street, and the approved plans to be kept on site for inspectors. Build to the approved plans; significant changes need a revision before you build them.
Step 7: Inspections
Inspections happen at set stages. Typical residential stages are:
- Footing or foundation, before concrete is poured.
- Framing, before walls are covered.
- Rough electrical, plumbing and mechanical, before insulation.
- Insulation, in many jurisdictions.
- Final, when the work is complete.
A deck might only need footing, framing and final inspections. Schedule each one through the portal or by phone, and don’t cover work before it is inspected.
Step 8: Close the permit
A permit isn’t complete until the final inspection passes and the office records it as closed or finaled. Open permits can cause issues when you sell. Most permits also expire if work doesn’t start, or stops, for a set period, often around 180 days. If you need more time, ask for an extension before it lapses.
Common reasons applications stall
- A missing site plan, or one without setbacks to every lot line.
- Drawings not to scale or missing dimensions.
- A description of work that doesn’t match the drawings.
- No structural details for decks, beams or wall removals.
- Missing HOA, septic or flood-zone documents.
- Unpaid fees or unsigned forms.
Our guide on why building permits get rejected covers these in more detail.
Applying as a homeowner vs using a contractor
Homeowners can usually apply for permits on their own home, sometimes called an owner-builder permit. You take responsibility for the work and inspections. Contractors usually pull permits for work they do, and many states require that licensed trades pull their own electrical and plumbing permits. Either way, the property owner benefits from making sure the permit is issued and closed.
Frequently asked questions
Can I apply for a building permit online?
Many cities and counties have online portals for residential permits. Some still require in-person or emailed submittals.
What drawings do I need to apply for a building permit?
At minimum, usually a site plan. Larger projects need floor plans, elevations, sections and structural details.
Who should apply, me or my contractor?
Whoever does the work typically applies. Homeowners can often apply for their own home; licensed trades often must pull their own permits.
How much does a building permit cost?
Fees vary widely and are usually based on project value or floor area. Check your department’s fee schedule.
What happens if the permit expires?
You may need to renew it, pay again or reapply. Ask for an extension before the expiry date if work is delayed.